
Increase resolution
Make a small source more useful for a product listing, a larger layout or a closer crop. Choose the output size before processing.
Small image. More detail.
Turn low-resolution photos into larger, clearer images. Upscale blurry images at 2× or 4×, refine texture with Topaz presets, and adjust face enhancement before you download.
Upscale an imageJPG, PNG, WEBP · Credit cost shown before processing
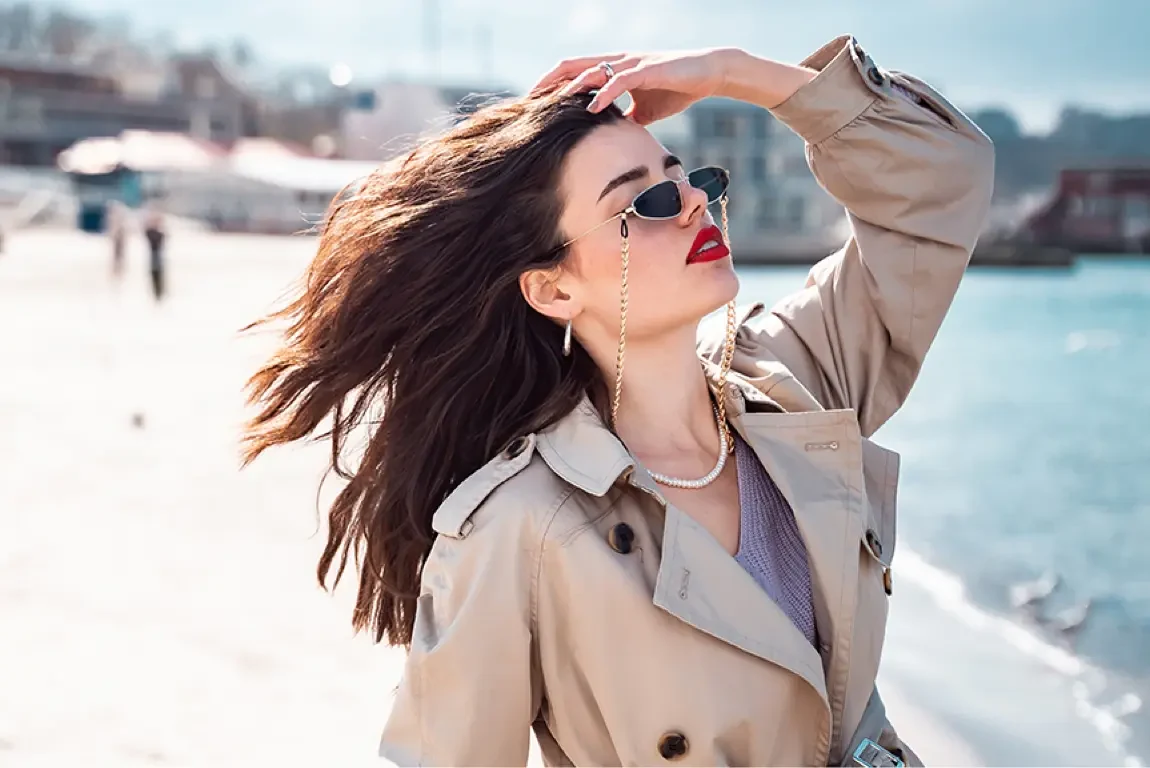
Make a small source more useful for a product listing, a larger layout or a closer crop. Choose the output size before processing.
Balance sharpness and noise reduction. Use a preset suited to the source, and keep face enhancement optional.
Drag the comparison divider and zoom into the canvas. Check edges, texture and faces before saving your preferred result.
A higher pixel count is only part of the result. Choose how your photo is enlarged, how much texture is enhanced, and what to preserve.
Explore output dimensions
Dimension example only. The available options in the tool depend on your uploaded file.
Choose 2× or 4× to increase both the width and height of a photo. A 1280 × 960 image becomes 2560 × 1920 at 2×, or 5120 × 3840 at 4×. The AI estimates detail as it enlarges the image, giving you a larger file to inspect and use in a layout. Try the dimension example to see what each factor means.
Small web images and repeatedly compressed photos often look soft around hair, fabric and object edges. Start with the Low res or Standard preset, then balance sharpness and denoise for your source. Moderate settings can improve clarity while keeping texture from looking too brittle. Severe defocus and motion blur may still remain visible.
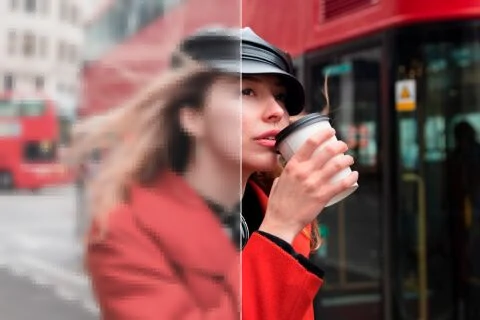
Faces need a different balance from backgrounds. Enable face enhancement when a small portrait needs attention, then adjust strength and creativity to control how freely facial detail is reconstructed. Check eyes, skin and expressions against the source. Keep the setting off when preserving existing facial detail matters more than adding definition.
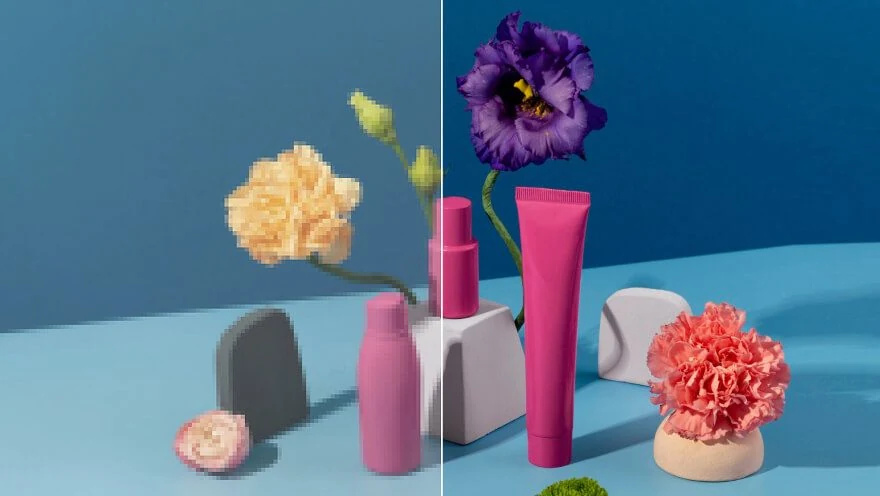
A product photograph, an illustration and a screenshot each need a different approach. High Fidelity v2 suits detailed sources, Art & CG is intended for computer graphics, and Text Refine targets lettering and branding elements. Choose the closest starting point and inspect the result; generated detail can change small letters and fine lines.
Five presets in the same workspace. Match the source first, then fine-tune sharpness, denoise and face enhancement.
Explore the presets, then choose one for your own file in the workspace.
The default starting point for everyday photos. Try it with 2× enlargement, then inspect whether the image needs more sharpness or less noise.
For a source that already has useful detail. Use it when the goal is a larger image with a restrained enhancement rather than a strongly reconstructed appearance.
For small images, web graphics and screenshots. Look closely at edges and repetitive textures, which give the model less reliable information at low resolution.
For illustrations, CGI, logos and icons. Review outlines and flat-color boundaries after enlargement. Raster enlargement does not convert a logo into a vector file.
For text and branding elements. Check every important word against the original before using the output in a document, listing or printed design.
Bring your source, choose the finish, and inspect the larger result.
01
Open the upscaler and choose a JPG, PNG or WEBP file. Start with the best original you have; a downloaded thumbnail contains less detail than the full-size photo.
1× · 2× · 4×
Standard · High Fidelity · Low res
02
Select 1×, 2× or 4×, choose a preset and adjust sharpness or noise reduction. Turn on face enhancement if needed. Review the credit cost before starting.
03
Wait for processing, then compare the original and result in the canvas. Zoom into fine details, select the result you want and download it.
Use the same image upscaler for portraits, products, older photographs and larger layouts.
Prepare a portrait for a profile, social post or editorial layout. Inspect facial detail and use a modest enhancement when natural skin texture and likeness are the priority.
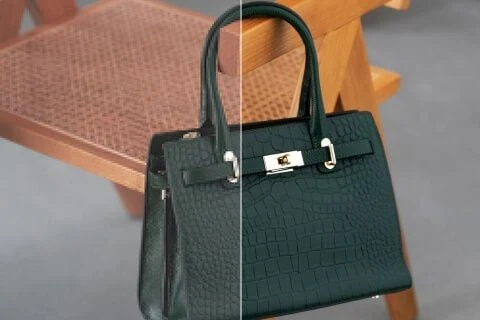
Give small supplier photos more room in product pages and advertising layouts. Check packaging text, materials and color against the source so the image continues to represent the product accurately.
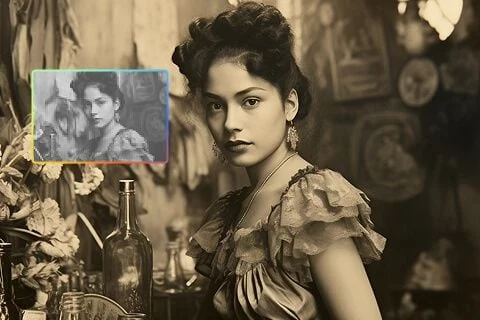
Enlarge a small scan or an older digital photo for viewing and sharing. Start with the best available source and compare faces and textures carefully. Enlargement and denoise can improve the appearance, while missing detail and physical damage may remain.
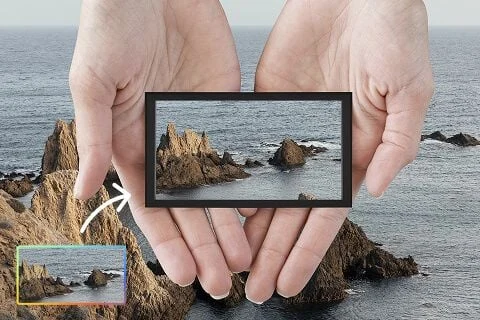
Enlarge a cover, poster or campaign graphic for its next placement. The required pixel dimensions depend on the final size and print density; use the output dimensions to plan before processing.
Know what you can choose before you upload.
An AI image upscaler creates a higher-resolution version of an existing image. It estimates edges and textures from the available pixels, which can make an enlarged photo look clearer. Fine details can change during reconstruction, so compare the result against your source.
Yes. Mild softness from low resolution and compression is a useful starting point. Try Low res or Standard and compare different sharpness settings. Strong motion blur, extreme defocus and missing detail may not be recoverable, even when the output contains more pixels.
Choose 2× or 4× to multiply the width and height of your source, or 1× to enhance at its existing size. At 4×, a 1280 × 960 photo becomes 5120 × 3840. Check the output shown in the tool before processing.
It can. AI reconstruction may alter fine features, lettering or texture. Start with conservative settings, leave face enhancement off when it is not needed, and compare the result against the original before using it.
You can increase its pixel dimensions, which may help with larger print layouts. Print quality also depends on the source, physical print size and required DPI. Check the target dimensions and inspect a crop or proof before committing to a large print.
Processing uses credits. The workspace shows the cost for the selected settings before you submit. Check your available balance and current plans to see how many images you can process.
No desktop installation is required. Upload, configure and review your image through the browser, then download the completed result. You will need to sign in and have enough credits to process it.
Yes. The same workspace accepts video files and displays video-specific settings. Visit the AI Video Upscaler page for supported resolutions, frame rates and clip limits.
Upload a photo, choose its scale, and compare the details in one workspace.
Upscale your first image